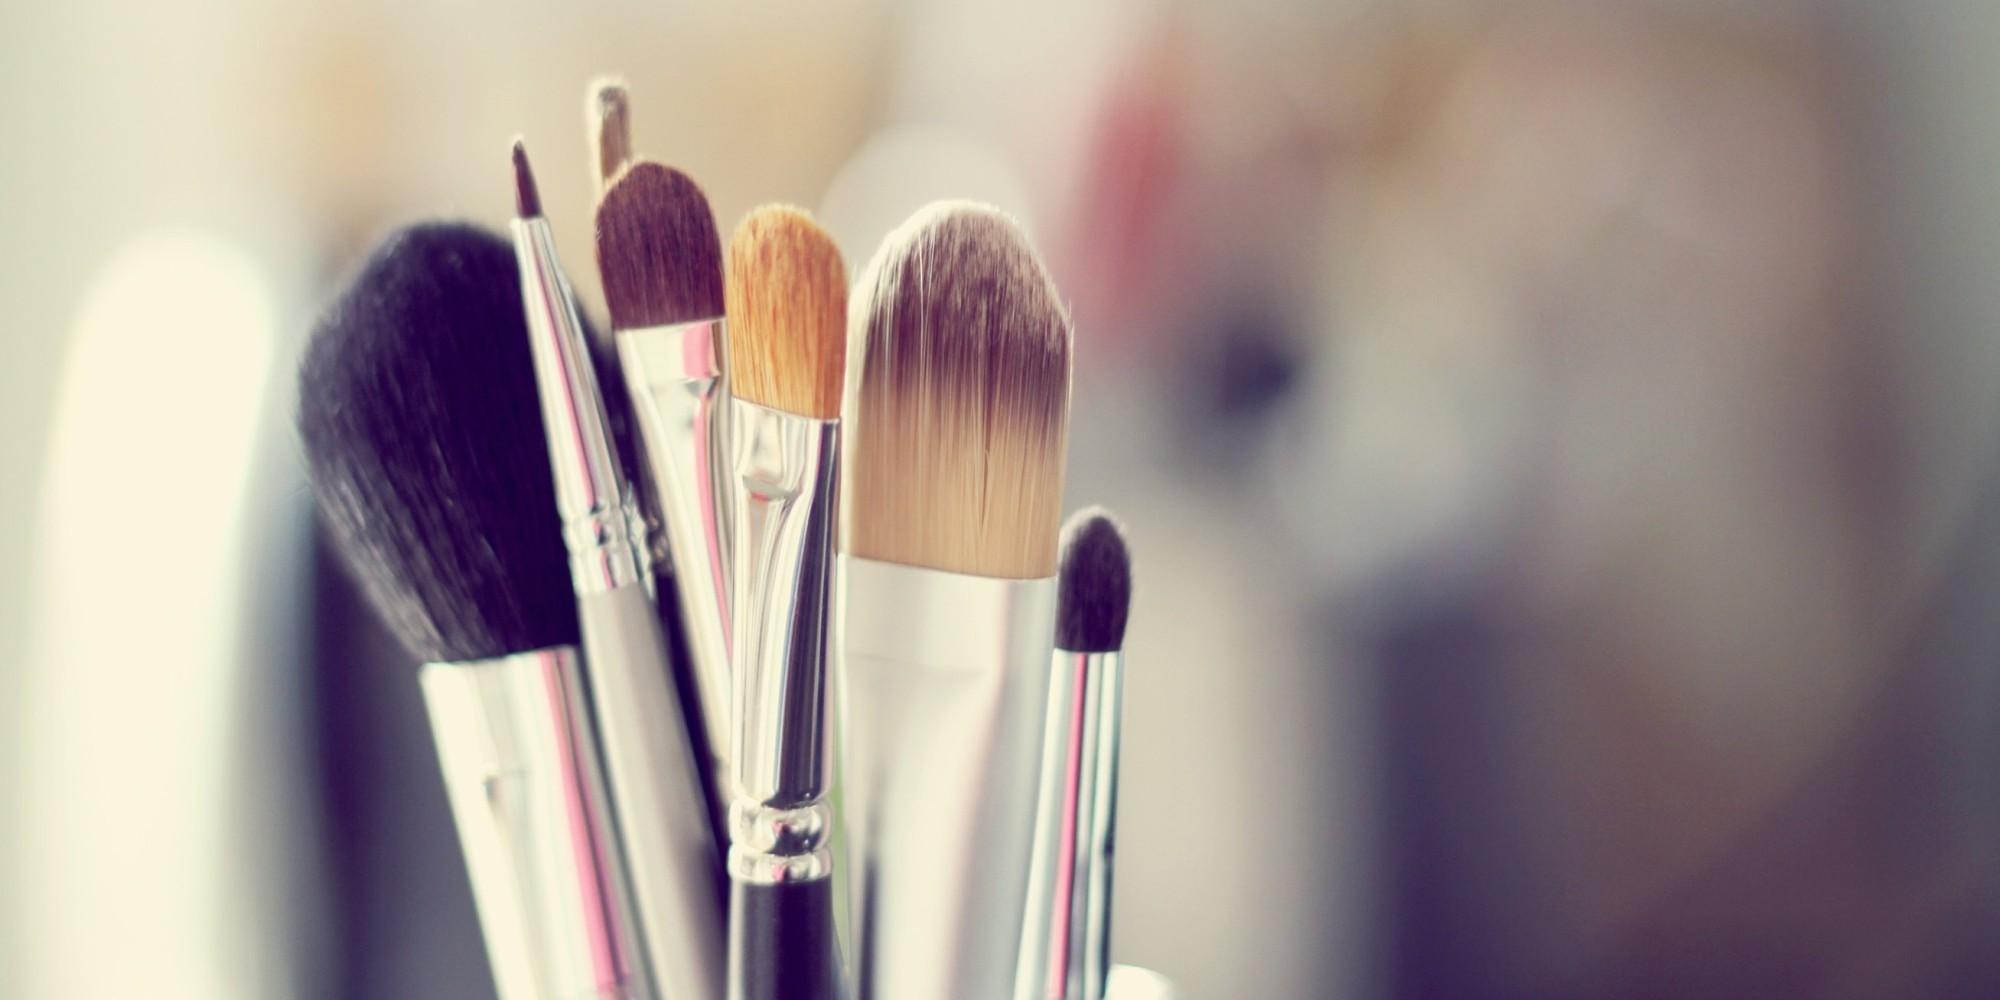
How many people have actually thought about how often they should clean their makeup brushes? Does it really matter? Maybe you don’t use it that often so why bother, right?
Actually, it does matter. When you use your brushes, bits of oil, dirt, makeup, concealer, foundation, etc. gets trapped in the bristles of the brush. So whether you use your brushes daily or every so often, not cleaning your them can lead to breakouts and clogged pores.

Don’t believe me? Try my favorite test. Take your makeup brush and wipe it on a clean paper towel before you use it. You will visually see what is currently on your brush before you even use it. YUCK right?!
So how often should one clean their brushes? According to makeup artist (and Emerson College Alum) Bobbi Brown, “For concealer and foundation brushes, at least once a week to prevent a buildup of product. And because these brushes are used on your face, the cleaner, the better. Brushes that are used around the eyes should be cleaned at least twice a month, while all others can be washed once a month.”
So the big question – How do you clean them? The process itself is not difficult nor time consuming. I have listed a few options below to consider.
OPTION A
Gentle Soap and Water
Cleaning with a gentle soap and plain water is a great method if you particularly have natural hair brushes.
What you will need:
– Small shallow bowl
– Gentle Shampoo (ex. baby shampoo or clarifying shampoo)
– Water
– Cloth or Towel (Preferably Lint Free)
1. Run your bristles under lukewarm water to rinse out all the residual makeup.
**TIP: Focus on staying on the bristles since you can wear our the glue where the head of the brush meets the handle from constant exposure to water.
2. Fill the bowl with lukewarm water and put a few drops of the gentle shampoo into the water. Think approximately about one part shampoo to every four parts water.
3. Gently swirl the tip of the brush in the water. You can also swirl the brush in the palm of your hand to work up a lather on the bristles.
4. Rinse the brush tip under water again.
5. Repeat steps three and four until the water runs clear while rinsing the brush.
6. Gently squeeze the excess moisture with a clean towel or cloth – be sure to shape the bristles as you go.
7. Let the brush dry with the bristles hanging off the counter.
**TIP: Never lay your brushes on a towel – the bristles can become mildewed. Also don’t dry your brushes standing up. The water can run into the base and loosen the glue that holds the brush head and handle together.
OPTION B
Brush Cleansers
There are cleansers that you can purchase to ease the cleaning process that will serve the same purpose as the above. Ready to use cleansers are a great option if you are cleaning synthetic and natural brushes.
There are multiple cleansers that you can purchase such as sprays, soap bars, shampoos and even wipes. I personally own a spray that is small enough to take with me when I am traveling for long periods of time.


The above images are cleansers available at Sephora. As I mentioned in past postings, Sephora is a great store to visit for any new items that you aren’t sure about. It is a great environment to ask questions and also request a sample to test before you commit to a purchase.
** TIP: If you also use a sponge or blender sponge – the solid cleansers can play double duty in cleaning those as well.
OPTION C
Do It Yourself Cleansers
There are many recipes out there to make your own makeup cleanser using distilled/bottled water, gentle shampoo and isopropyl alcohol. Feel free to look some up if you are interested in doing this at home instead of making a purchase.
Pinterest is a great resource for these types of projects!
When is it time to replace your makeup brush?
So you have had your makeup brushes for a while- but how long has it really been? When is it time to replace your loving tools? Here are 5 signs of wear and tear that you should consider when evaluating whether or not it’s time:
1. When the bristles start to shed or fray. There is nothing worse than getting the bristles on your face or even worse…in your lip gloss before you run out the door.
2. When the handle is broken. If the glue is loosening and the handle is gone – you will not be able to properly apply your makeup.
3. If the brush is losing shape. If your brush seems flat or not similar to the way it looked the day that your purchased it – you may be applying your product unevenly.
4. If you have a cracked part – particularly on the metal band around the bristles. Even the smallest crack can harbor bacteria that can transfer to your face with your makeup application.
5. If you just can’t get the bristles clean using any of the methods above. If the brush just seems consistently dirty or if you notice that you are breaking out more often than usual, opt for a replacement brush. Better safe than sorry!
Happy Cleaning! I hope that this was helpful! Feel free to share!
Thanks for reading! – J
** Image credits: Huffington Post and Sephora**
